Support > Identify > How to Track Your Email Campaign
How to Track Your Email Campaign
CANDDi’s tracking capabilities don’t stop at your website. We can also seamlessly integrate into your marketing platforms to make sure you never miss a bit.
Ever wondered what might happen if you had visibility over who was engaging with your email campaigns? You’d get to see who was opening your email, clicking your links or even ignoring you… awkward. But better the devil you know, right? Well good news, CANDDi’s email plugin can do all of that for you. If you want to know more about the techy stuff behind our one-to-one email plugin, you can read more here.
So, if you’re ready to get started, let’s follow our simple guide and get your tracked campaigns up and running!
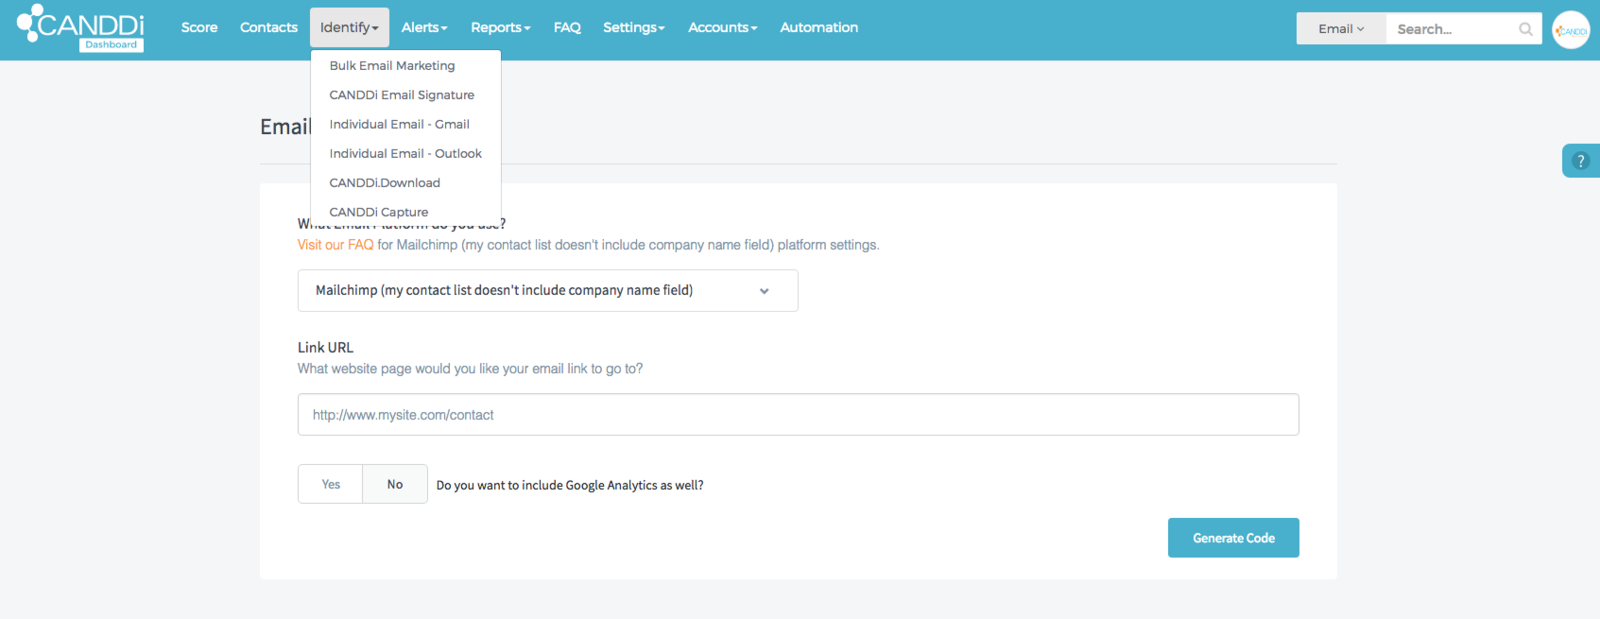
As you log into your CANDDi Dashboard, you’ll see in the top left the “Identify” tab. From this, you’ll be able to select the “Bulk Email Marketing” option where you can choose your email platform from the drop down list (or you can start to type in part of its name so you don’t have to scroll through all of them).
If you can’t see your email platform, don’t panic! We can set it up for you. Email help@canddi.com to do this.
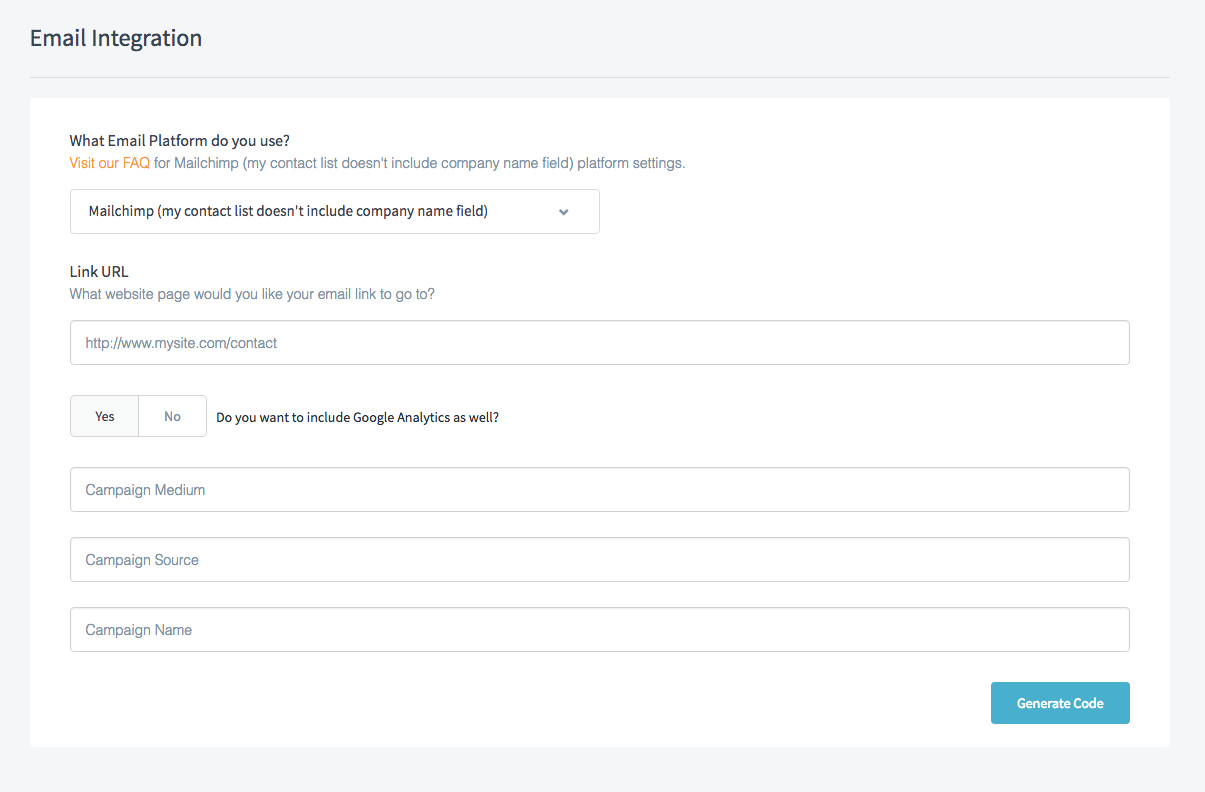
Once you’ve selected your email platform, click YES to Google Analytics and fill in the details as below. You’ll need to make sure you type ‘email’ into the campaign medium box.
For the campaign source field, you can just keep it simple. Type in something like marketing or campaign, whatever floats your boat.
When you get to the campaign name field however, it’s best to be a bit more specific. We usually advise naming it after the date, i.e. 170920, or the campaign’s specific name as per your marketing team’s request. Be sure there are no spaces between words and numbers of your given campaign name. If you need to, use underscore instead.
If you’re wondering why this is so pernickety, it’s because we use campaign source and campaign name for streaming purposes. The correct names ensure the data CANDDi collects appears neatly on your dashboard so you can turn this data into actionable information.
You’re now all set. Press the generate code button at the bottom right hand corner.
Copy the link that’s generated, and use it as the link in your email campaign. This link will replace the usual URLs you’d place into your emails as directors to your landing pages, videos, register point, or whatever it is you normally do.
This code needs to be in every link so CANDDi can keep its beady little eye over it. For your benefit, of course. If you want the link to go to different pages, just change the URL inside the code. It’s probably best to send a test campaign to your account manager to double check it’s all working the way you want it to.
Don’t worry, it’s all completely legit. Since we’re in the business of data tracking, the way we store and use this information is pretty important to us. If you want to know more about our GDPR roadmap and how CANDDi works in line with data protection, click here.
If you’re struggling or have any questions, please feel free to get in touch with us at hello@canddi.com
NOTE: If your email platform uses other google analytics/ UTM codes, they will conflict, so you’ll need to turn them off. Alternatively, just use the ones in your email platform, and say no to Google Analytics tracking in CANDDi. Either way, you only want it enabled once!
NOTE: If you use Zoho or Campaign Monitor, sending a “test email” won’t work. Please make a new contact list with just your account developers email address and send a full campaign to us.